Using FAST on Whole-Slide Images (WSI)
Contents
- Whole-slide images (WSI)
- Open and display a WSI
- Tissue segmentation
- Extract patch from WSI and convert to numpy ndarray
- Extract image pyramid level from WSI and convert to numpy ndarray
- Patch-wise processing
- Stitching patches
- Export and import high-resolution segmentations as TIFF
- Export and import WSIs and segmentations as a set of PNG/JPEG images
- Tissue micro array (TMA) extractor
- Next steps
This is a tutorial for processing whole slide images (WSI) and other giga-resolution images in FAST with python.
Whole-slide images (WSI)
WSIs are digitized microscopy images, for instance of cross-section tissue samples of cancer tumours. Depending on the magnification used, these images are ofte gigantic, and may have sizes up to 200,000 x 100,000 pixels. This poses several memory and processing challenges, as the entire image typically can't fit into RAM nor the GPU RAM. These images are therefore usually stored as a tiled image pyramid. In FAST, such an image is represented by the ImagePyramid data object. Level 0 in the pyramid is the full resolution image W x H, while the next level 1 is the same image but with a reduced size, typically half the width and height of the previous level (W/2 x H/2). A large image can have many of these levels. In addition, every level image is divided into patches, also called tiles, where each patch has a typical size around 256 x 256 pixels. When rendering, the appropriate level is used for the current zoom, and only patches which are visible in the viewport are loaded into memory.
Open and display a WSI
To open a WSI, use the WholeSlideImageImporter process object which uses the OpenSlide library. Displaying a WSI is done with the ImagePyramidRenderer. The example below shows how to load the CMU-1 WSI included in the test dataset.
import fast

importer = fast.WholeSlideImageImporter\
    .create(fast.Config.getTestDataPath() + "/WSI/CMU-1.svs")

renderer = fast.ImagePyramidRenderer.create()\
    .connect(importer)

fast.SimpleWindow2D.create()\
    .connect(renderer)\
    .run()
Tissue segmentation
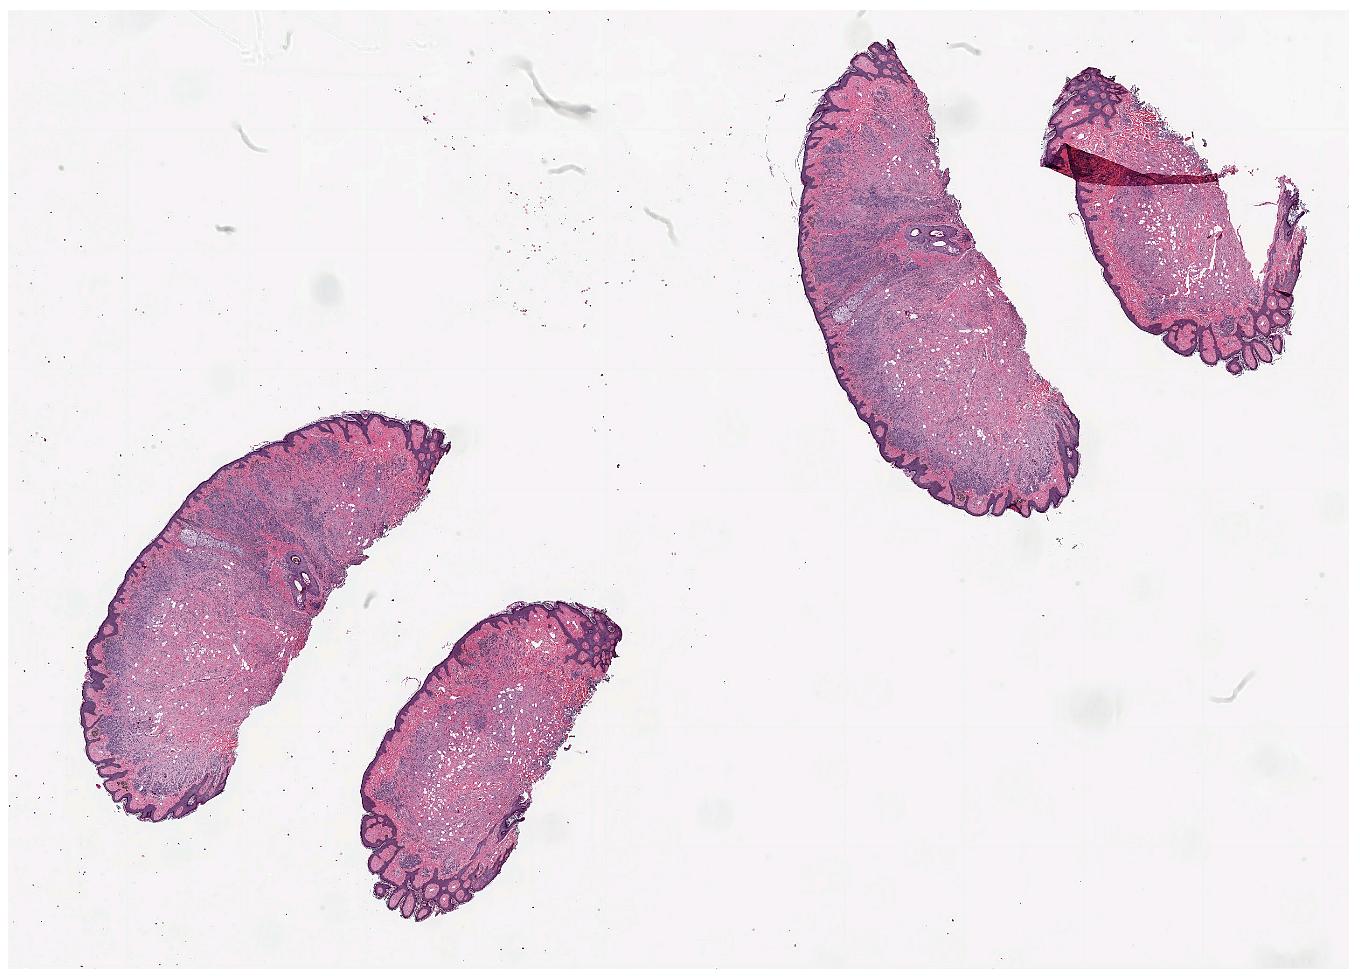
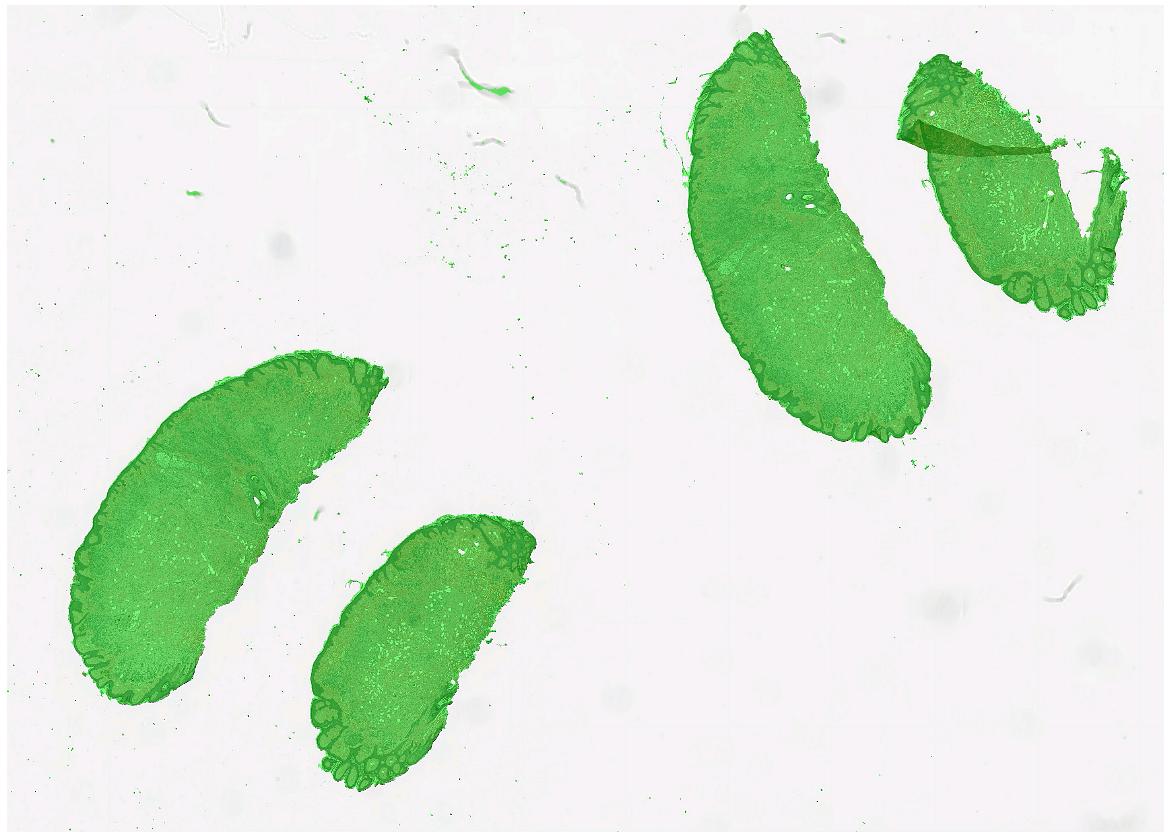
Since large parts of a WSI is typically just glass, we often want to segment the actual tissue, to avoid processing the glass parts of the image. FAST provides a TissueSegmentation algorithm for this purpose:
import fast

importer = fast.WholeSlideImageImporter\
    .create(fast.Config.getTestDataPath() + "/WSI/CMU-1.svs")

tissueSegmentation = fast.TissueSegmentation.create()\
    .connect(importer)

renderer = fast.ImagePyramidRenderer.create()\
    .connect(importer)

segmentationRenderer = fast.SegmentationRenderer.create()\
    .connect(tissueSegmentation)

fast.SimpleWindow2D.create()\
    .connect(renderer)\
    .connect(segmentationRenderer)\
    .run()
Extract patch from WSI and convert to numpy ndarray
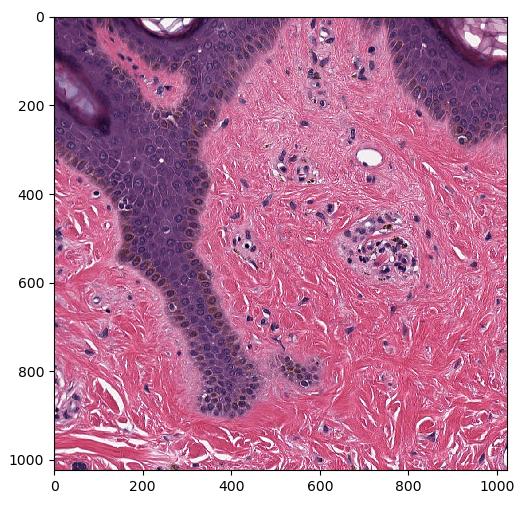
Since a WSI is typically very big, we can't get the entire WSI at full resolution as a numpy ndarray. But we can extract specific patches at full resolution using ImagePyramidAccess::
import fast
import matplotlib.pyplot as plt
import numpy as np

# Run importer and get data
imagePyramid = fast.WholeSlideImageImporter\
    .create(fast.Config.getTestDataPath() + "/WSI/CMU-1.svs")\
    .runAndGetOutputData()

# Extract specific patch at highest resolution
access = imagePyramid.getAccess(fast.ACCESS_READ)
level = 0
x = 12000
y = 14000
w = 1024
h = 1024
image = access.getPatchAsImage(level, x, y, w, h)

# Convert FAST image to numpy ndarray and plot
image = np.asarray(image)
# This should print: (1024, 1024, 3) uint8 255 1
print(image.shape, image.dtype, np.max(image), np.min(image))

plt.imshow(image)
plt.show()
Extract image pyramid level from WSI and convert to numpy ndarray
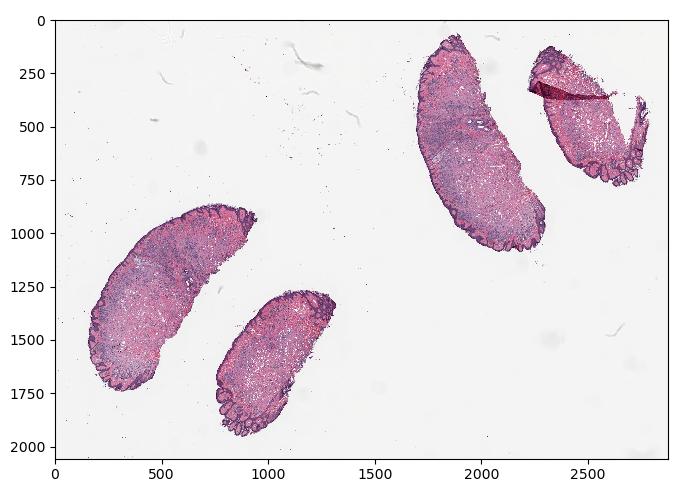
There is also a method called ImagePyramidAccess::
import fast
import matplotlib.pyplot as plt
import numpy as np

# Run importer and get data
imagePyramid = fast.WholeSlideImageImporter\
    .create(fast.Config.getTestDataPath() + "/WSI/CMU-1.svs")\
    .runAndGetOutputData()

# Extract specific level as FAST image
image = imagePyramid.getAccess(fast.ACCESS_READ).getLevelAsImage(level=2)

# Convert FAST image to numpy ndarray and plot
image = np.asarray(image)
# This should print: (2664, 3222, 3) uint8 255 0
print(image.shape, image.dtype, np.max(image), np.min(image))

plt.imshow(image)
plt.show()
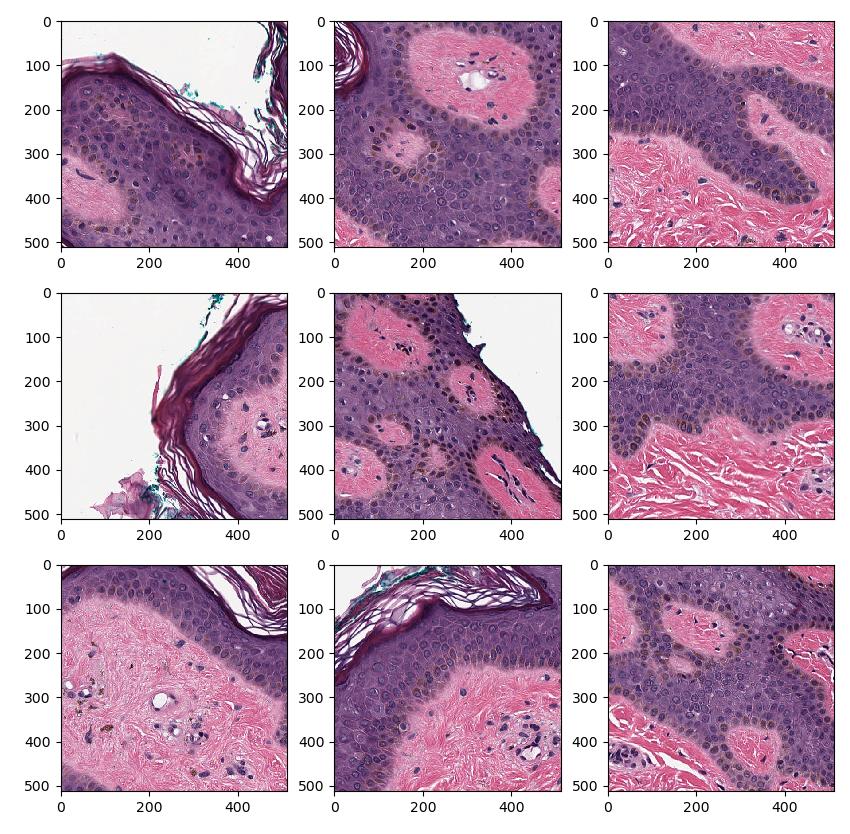
Patch-wise processing
Since we can't fit the entire image into memory, processing of these images are usually done one patch at a time. To perform patch-wise processing in FAST one can use the PatchGenerator which tiles the image using a specified patch size and image pyramid level or magnification level. The PatchGenerator creates a stream of Image data objects and has an optional second input which is a mask to generate patches from. In this example, we generate 512x512 patches at image pyramid level 0 (highest resolution) from tissue and display the patches using matplotlib:
import fast
import matplotlib.pyplot as plt

importer = fast.WholeSlideImageImporter.create(
    fast.Config.getTestDataPath() + 'WSI/CMU-1.svs')

# Do tissue segmentation to select patches from tissue only
tissueSegmentation = fast.TissueSegmentation.create()\
    .connect(importer)

# You can specify level (0, 1, ..) or magnification (40, 20, 10, ..)
patchGenerator = fast.PatchGenerator.create(512, 512, level=0)\
    .connect(0, importer)\
    .connect(1, tissueSegmentation)

# Create a 3x3 subplot of 9 patches
patch_list = []
for patch in fast.DataStream(patchGenerator):
    patch_list.append(patch)
    if len(patch_list) == 9:
        # Display the 9 last patches
        f, axes = plt.subplots(3,3, figsize=(10,10))
        for i in range(3):
            for j in range(3):
                axes[i, j].imshow(patch_list[i + j*3])
        plt.show()
        patch_list.clear()
        break # Remove this break to show more
Patch overlap
When performing segmentation and object detection in a patch-wise way, one often get bad results at the borders of the patches. This can be dealt with using a certain amount of patch overlap in the PatchGenerator. For example, here 10% overlap is applied on all sides of the patch: fast.PatchGenerator.create(512, 512, level=0, overlap=0.1) This means that 512*10% ~= 51 pixels on all sides of this patch are pixels from the neighbor patches. Overlap results in more patches, and thus slower processing of the entire image.
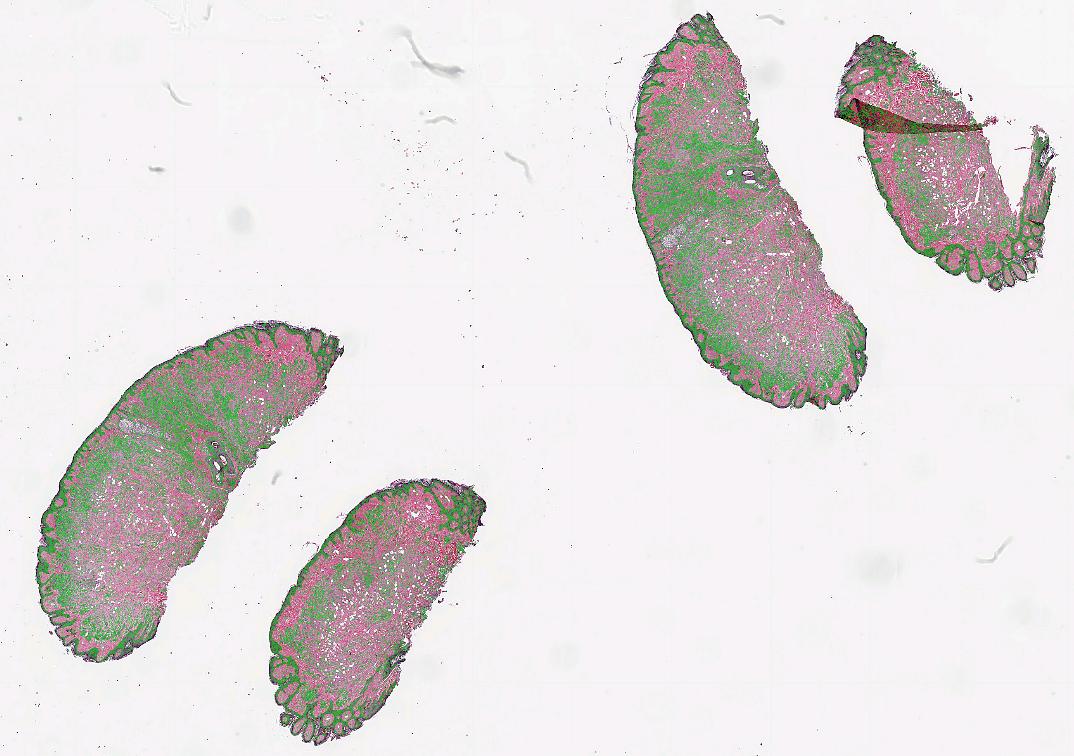
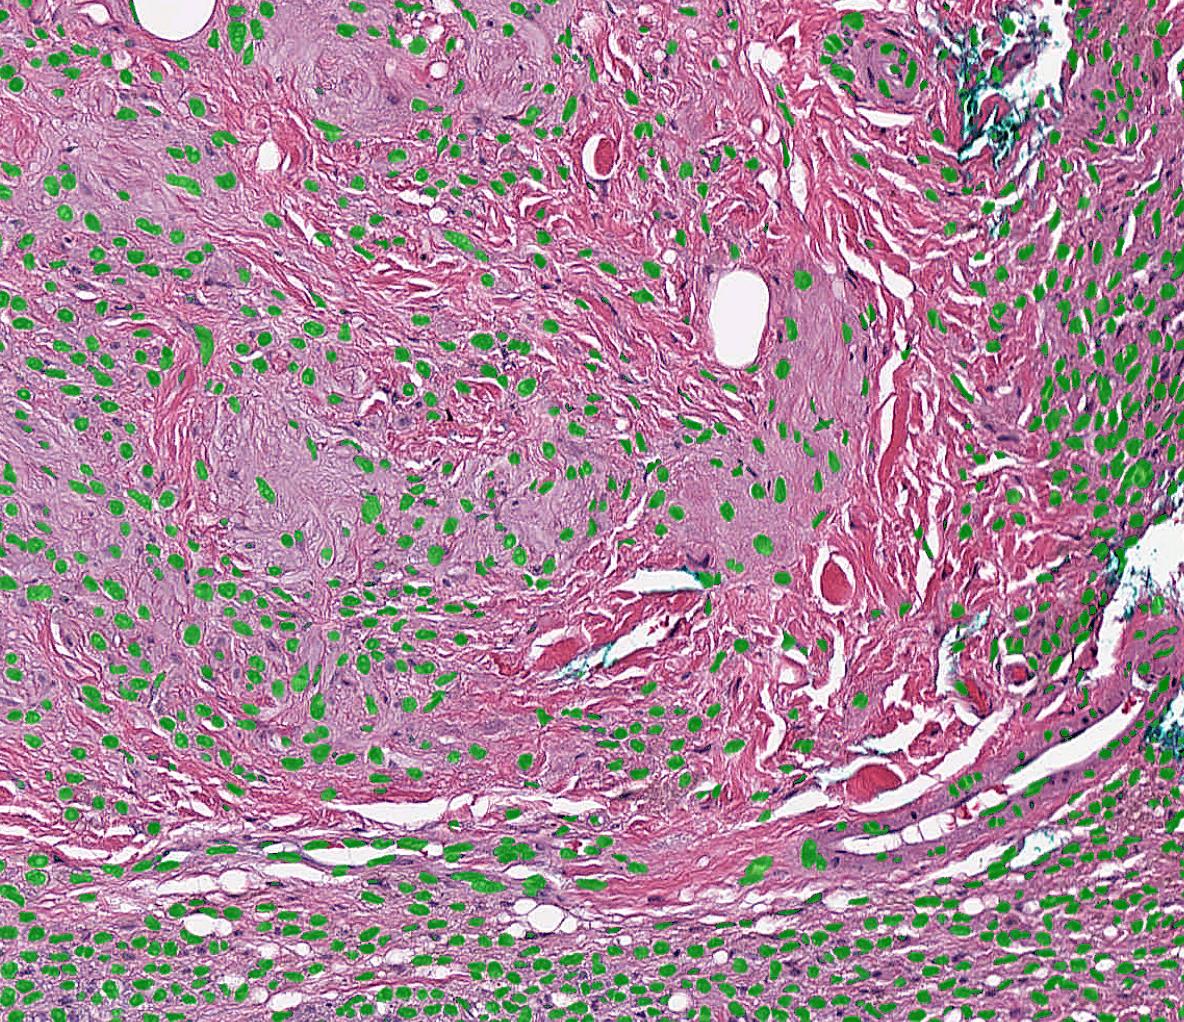
Stitching patches
When performing patch-wise segmentation or classification of large images, we often want to stitch the results back together to form a new image pyramid which we can overlay on the original WSI. This can be done using the PatchStitcher as shown in the example below which uses a neural network by André Pedersen (https:/
import fast

# Download a nuclei segmentation model from the DataHub
model = fast.DataHub().download('nuclei-segmentation-model')

importer = fast.WholeSlideImageImporter\
    .create(fast.Config.getTestDataPath() + "/WSI/CMU-1.svs")

tissueSegmentation = fast.TissueSegmentation.create()\
    .connect(importer)

# Generate 256x256 patches at 20X magnification with 10% overlap
generator = fast.PatchGenerator.create(
        256, 256,
        magnification=20,
        overlapPercent=0.1
    ).connect(importer)\
    .connect(1, tissueSegmentation)

segmentation = fast.SegmentationNetwork.create(
        model.paths[0] + '/high_res_nuclei_unet.onnx',
        scaleFactor=1./255.
    ).connect(generator)

stitcher = fast.PatchStitcher.create()\
    .connect(segmentation)

# Display the stitched segmentation results on top of the WSI
renderer = fast.ImagePyramidRenderer.create()\
    .connect(importer)

segmentationRenderer = fast.SegmentationRenderer.create()\
    .connect(stitcher)

fast.SimpleWindow2D.create()\
    .connect(renderer)\
    .connect(segmentationRenderer)\
    .run()
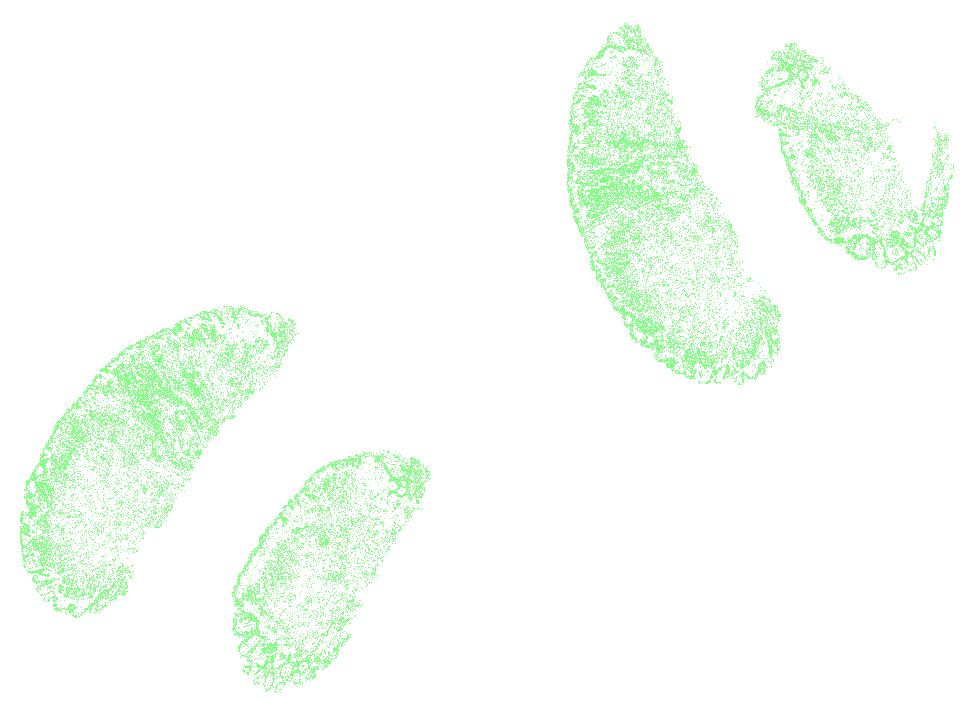
Export and import high-resolution segmentations as TIFF
To simplest way to export high-resolution segmentations is to use the TIFFImagePyramidExporter. When used with the PatchStitcher, this exporter just becomes a simple copy operation because the PatchStitcher creates a tiled pyramidal TIFF in the background. Note that this example will take a while to run since it needs to run a neural network on all patches first.
import fast

# Download a nuclei segmentation model from the DataHub
model = fast.DataHub().download('nuclei-segmentation-model')

importer = fast.WholeSlideImageImporter\
    .create(fast.Config.getTestDataPath() + "/WSI/CMU-1.svs")

tissueSegmentation = fast.TissueSegmentation.create()\
    .connect(importer)

# Generate 256x256 patches at 20X magnification
# Reduced overlap to speed up the processing time of this example
generator = fast.PatchGenerator.create(
        256, 256,
        magnification=20,
        overlapPercent=0
    ).connect(importer)\
    .connect(1, tissueSegmentation)

segmentation = fast.SegmentationNetwork.create(
        model.paths[0] + '/high_res_nuclei_unet.onnx',
        scaleFactor=1./255.
    ).connect(generator)

stitcher = fast.PatchStitcher.create()\
    .connect(segmentation)

# We need to wait until all patches have been processed and stitched
# before exporting the segmentation. The RunUntilFinished process object
# will do this for us
finished = fast.RunUntilFinished.create()\
    .connect(stitcher)

# Finally we export the stitched image pyramid to TIFF
exporter = fast.TIFFImagePyramidExporter.create('segmented-nuclei.tiff')\
    .connect(finished)\
    .run()
You can then use the TIFFImagePyramidImporter to load the stored segmentation back into FAST.
import fast

importer = fast.TIFFImagePyramidImporter.create('segmented-nuclei.tiff')

segmentationRenderer = fast.SegmentationRenderer.create()\
    .connect(importer)

fast.SimpleWindow2D.create()\
    .connect(segmentationRenderer)\
    .run()
Export and import WSIs and segmentations as a set of PNG/JPEG images
You can also export and import WSIs and image pyramid segmentations as a large set of PNG/JPEG images, for instance using the ImagePyramidPatchExporter:
import fast

importer = fast.WholeSlideImageImporter\
    .create(fast.Config.getTestDataPath() + "/WSI/CMU-1.svs")

# Store patches from level 2
exporter = fast.ImagePyramidPatchExporter.create('/home/smistad/wsi-export-folder/', 2, 512, 512)\
    .connect(importer)\
    .run()
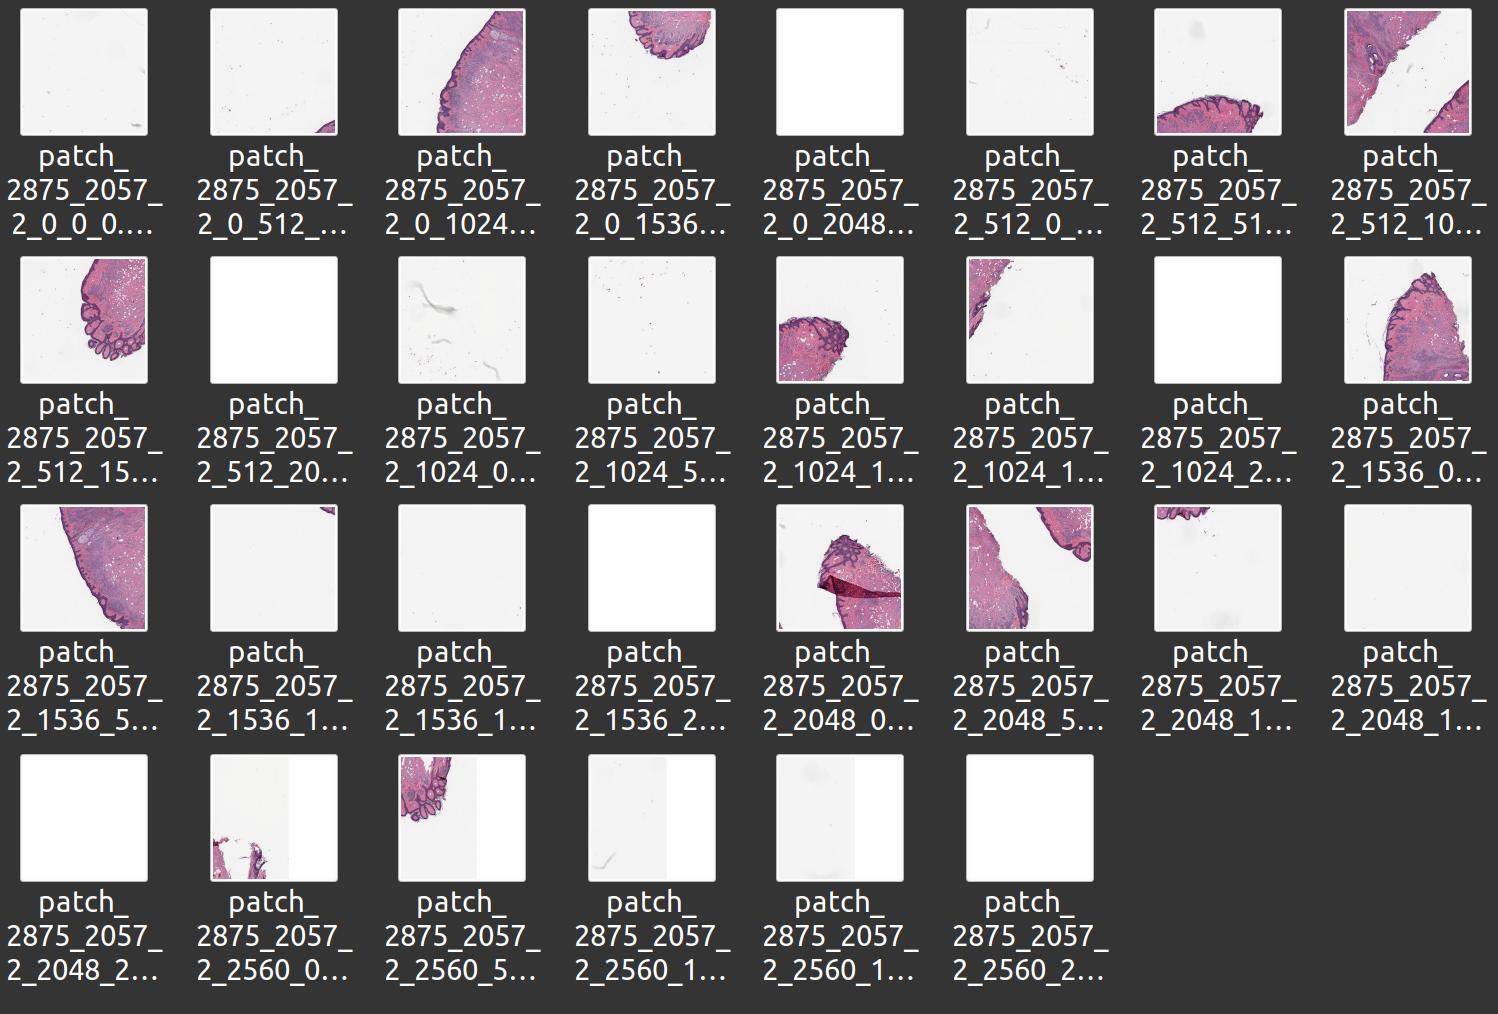
You can also do this manually using the PatchGenerator which gives you some more options, like only storing patches with tissue:
import fast

importer = fast.WholeSlideImageImporter\
    .create(fast.Config.getTestDataPath() + "/WSI/CMU-1.svs")

# Do tissue segmentation to select patches from tissue only
tissueSegmentation = fast.TissueSegmentation.create()\
    .connect(importer)

patchGenerator = fast.PatchGenerator.create(512, 512, level=2)\
    .connect(0, importer)\
    .connect(1, tissueSegmentation)

for i, patch in enumerate(fast.DataStream(patchGenerator)):
    fast.ImageExporter.create(f'patch_{i}.jpg')\
        .connect(patch)\
        .run()
You can also import image pyramids stored as a set of PNG/JPEGs, but this is very slow and not recommended:
import fast

importer = fast.ImagePyramidPatchImporter.create('wsi-export-folder/')

renderer = fast.ImagePyramidRenderer.create()\
    .connect(importer)

fast.SimpleWindow2D.create()\
    .connect(renderer)\
    .run()
Tissue micro array (TMA) extractor
Tissue micro arrays (TMAs) are WSI of a set of tissue cores, which are circular tissue samples extracted from different locations of different WSIs from potentially many patients. FAST has a TissueMicroArrayExtractor which can extract each tissue core as separate images which can be useful if you need to index and process the tissue cores independently. The example below demonstrated this process object and displays 6 tissue core images at a time using matplotlib.
import fast
import matplotlib.pyplot as plt

importer = fast.WholeSlideImageImporter\
    .create('/home/smistad/data/TMA/TMA_TA407.svs')

# Extract tissue cores at image pyramid level 1
extractor = fast.TissueMicroArrayExtractor.create(level=1)\
    .connect(importer)

for i, core in enumerate(fast.DataStream(extractor)):
    if i % 6 == 0:
        if i > 0:
            plt.show()
        f, axes = plt.subplots(1,6, figsize=(30,5))
    axes[i % 6].imshow(core)
    # You can get the position of the extracted core from core.getTransform().getTranslation()
    axes[i % 6].set_title(f'x: {core.getTransform().getTranslation()[0]}, ' +
        f'y: {core.getTransform().getTranslation()[1]}')
Next steps
- See more Python Tutorials.
- Check out some Python Examples.
- Review Concepts & Glossary used in FAST.